Qwen-VL本地部署指南(Docker容器版)
Qwen-VL 是一个多模态视觉文本模型,可以完成图像识别,视觉问答,OCR, 文档理解,视觉定位等功能,同时支持多语言对话,多图像交错对话,细粒度识别,基于Qwen-7B语言模型,整体模型架构和输入输出接口都非常简洁。官方webui 十分方便易用。
Qwen-VL 是一个多模态视觉文本模型,可以完成图像识别,视觉问答,OCR, 文档理解,视觉定位等功能,同时支持多语言对话,多图像交错对话,细粒度识别,基于Qwen-7B语言模型,整体模型架构和输入输出接口都非常简洁。官方webui 十分方便易用。
体验硬件建议(模型推理):
INT4 : RTX30901,显存24GB,内存32GB,系统盘200GB
INT4 : RTX40901或RTX3090*2,显存24GB,内存32GB,系统盘200GB
模型微调硬件要求更高。一般不建议个人用户环境使用
环境准备
模型准备
下载地址:
git clone https://www.modelscope.cn/qwen/Qwen-VL-Chat.git
cd Qwen-VL-Chat
下载模型源码
git clone https://github.com/QwenLM/Qwen-VL.git
cd Qwen-VL
创建conda环境
conda create -n qwenvl python=3.11 -y
source activate qwenvl
修改本国内源
pip config set global.index-url http://mirrors.aliyun.com/pypi/simple
pip config set install.trusted-host mirrors.aliyun.com
安装依赖库
安装torch torchvision torchaudio
pip install torch torchvision torchaudio --index-url https://download.pytorch.org/whl/cu121

安装 cuda-runtime
(cogvlm) develop@itserver03:/u01/workspace/qwenvl/Qwen-VL$: conda install -y -c "nvidia/label/cuda-12.1.0" cuda-runtime

The following NEW packages will be INSTALLED:

  cuda-cudart        nvidia/label/cuda-12.1.0/linux-64::cuda-cudart-12.1.55-0
  cuda-libraries     nvidia/label/cuda-12.1.0/linux-64::cuda-libraries-12.1.0-0
  cuda-nvrtc         nvidia/label/cuda-12.1.0/linux-64::cuda-nvrtc-12.1.55-0
  cuda-opencl        nvidia/label/cuda-12.1.0/linux-64::cuda-opencl-12.1.56-0
  cuda-runtime       nvidia/label/cuda-12.1.0/linux-64::cuda-runtime-12.1.0-0
  libcublas          nvidia/label/cuda-12.1.0/linux-64::libcublas-12.1.0.26-0
  libcufft           nvidia/label/cuda-12.1.0/linux-64::libcufft-11.0.2.4-0
  libcufile          nvidia/label/cuda-12.1.0/linux-64::libcufile-1.6.0.25-0
  libcurand          nvidia/label/cuda-12.1.0/linux-64::libcurand-10.3.2.56-0
  libcusolver        nvidia/label/cuda-12.1.0/linux-64::libcusolver-11.4.4.55-0
  libcusparse        nvidia/label/cuda-12.1.0/linux-64::libcusparse-12.0.2.55-0
  libnpp             nvidia/label/cuda-12.1.0/linux-64::libnpp-12.0.2.50-0
  libnvjitlink       nvidia/label/cuda-12.1.0/linux-64::libnvjitlink-12.1.55-0
  libnvjpeg          nvidia/label/cuda-12.1.0/linux-64::libnvjpeg-12.1.0.39-0
Downloading and Extracting Packages:
libcublas-12.1.0.26  | 329.0 MB  |                                                                                                                                                                   |   0%
libcusparse-12.0.2.5 | 163.0 MB  |                                                                                                                                                                   |   0%
libnpp-12.0.2.50     | 139.8 MB  |                                                                                                                                                                   |   0%
libcufft-11.0.2.4    | 102.9 MB  |                                                                                                                                                                   |   0%
libcusolver-11.4.4.5 | 98.3 MB   |                                                                                                                                                                   |   0%
libcurand-10.3.2.56  | 51.7 MB   |                                                                                                                                                                   |   0%
cuda-nvrtc-12.1.55   | 19.7 MB   |                                                                                                                                                                   |   0%
libnvjitlink-12.1.55 | 16.9 MB   |                                                                                                                                                                   |   0%
libnvjpeg-12.1.0.39  | 2.5 MB    |                                                                                                                                                                   |   0%
libcufile-1.6.0.25   | 763 KB    |                                                                                                                                                                   |   0%
cuda-cudart-12.1.55  | 189 KB    |                                                                                                                                                                   |   0%
cuda-opencl-12.1.56  | 11 KB     |                                                                                                                                                                   |   0%
cuda-libraries-12.1. | 2 KB      |                                                                                                                                                                   |   0%
cuda-runtime-12.1.0  | 1 KB      |                                                                                                                                                                   |   0%
Preparing transaction: done
Verifying transaction: done
Executing transaction: done
(cogvlm) develop@itserver03:/u01/workspace/qwenvl/Qwen-VL$
安装Qwen-VL依赖库
pip install -r requirements.txt

在安装后,启动web界面时,会出现报错:
**unknown scheme for proxy url url(‘socks://127.0.0.1:7890/’)**** **
检查环境变量env | grep -i proxy
重置环境变量中的ALL_PROXY=''和all_proxy=''即可。
(base) develop@itserver03:/u01/workspace/qwenvl/Qwen-VL$ env | grep proxy
no_proxy=localhost,127.0.0.1,192.168.0.0/16,10.0.0.0/8,172.16.0.0/12,::1
https_proxy=http://127.0.0.1:7897/
http_proxy=http://127.0.0.1:7897/
ALL_PROXY=http://127.0.0.1:7897/
all_proxy=http://127.0.0.1:7897/
(base) develop@itserver03:/u01/workspace/qwenvl/Qwen-VL$ export ALL_PROXY=''
(base) develop@itserver03:/u01/workspace/qwenvl/Qwen-VL$ export all_proxy=''
运行
运行web界面
执行启动命令
python web_demo_mm.py --checkpoint-path /u01/workspace/models/Qwen-VL-Chat
参数说明:
模型地址:
–checkpoint-path /u01/workspace/models/Qwen-VL-Chat
无gpu环境下启用该参数:
–cpu-only
访问端口:
–server-port 8000
访问服务地址:
–server-name 127.0.0.1
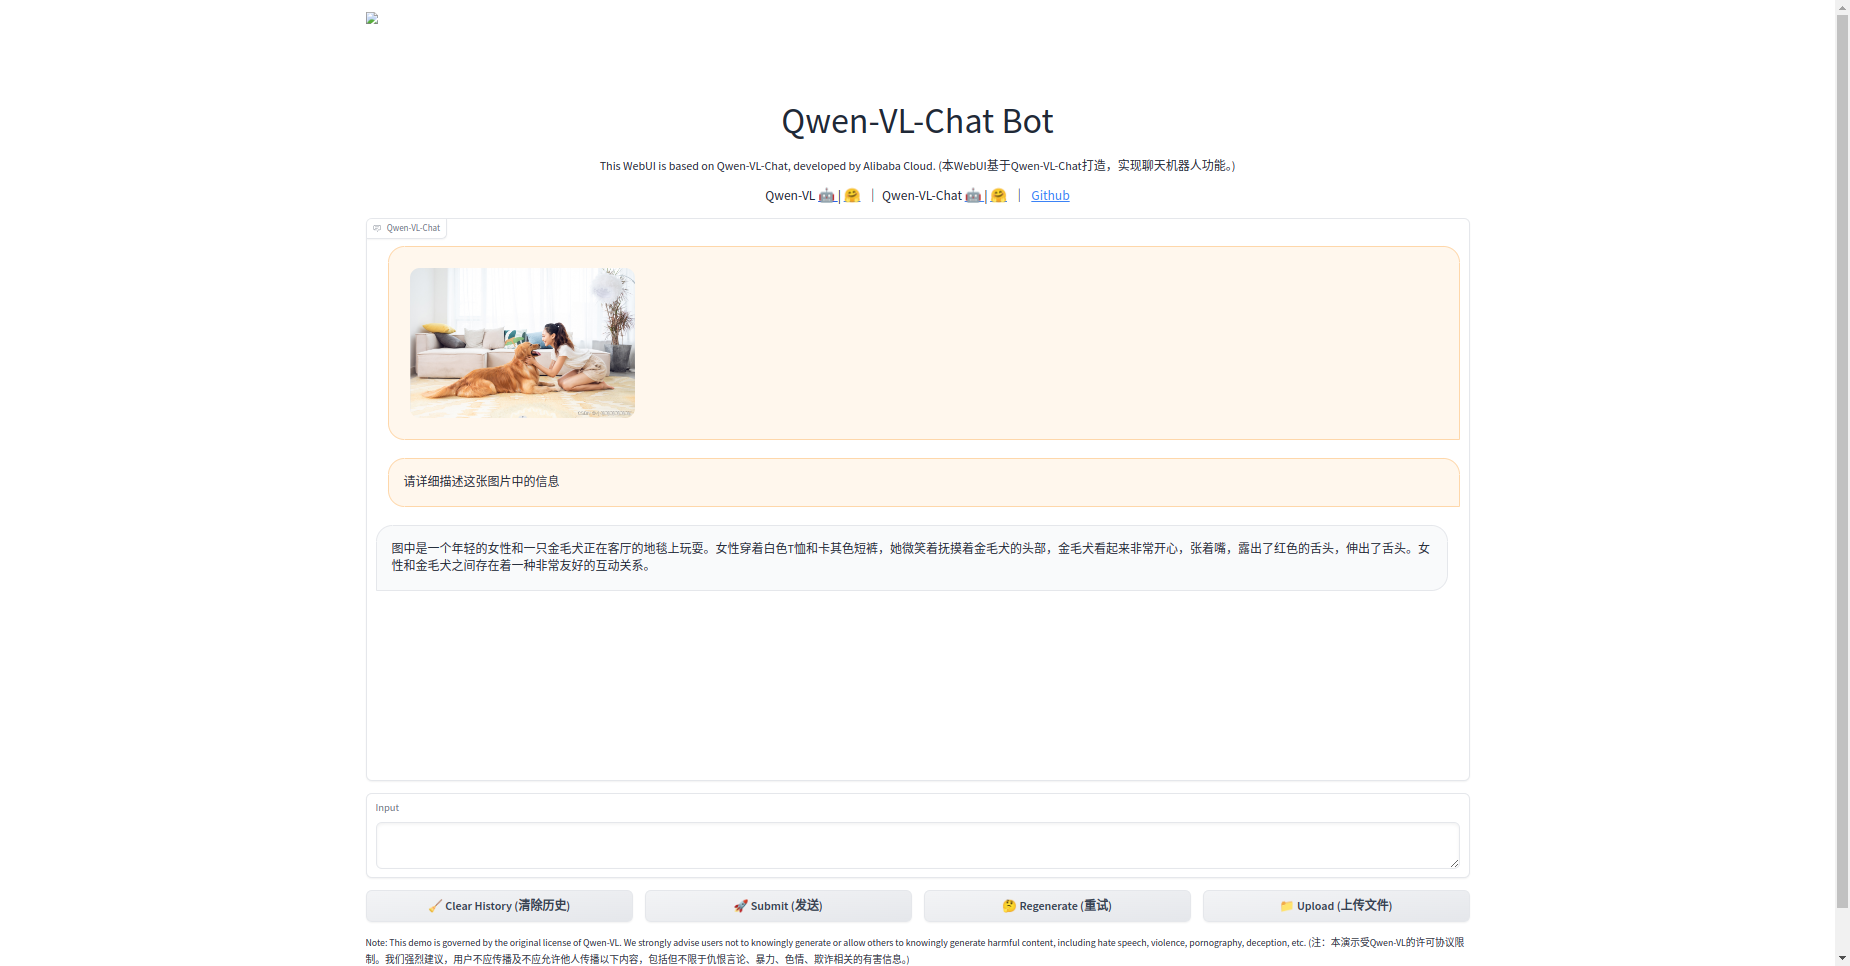
成功后可以打开界面 制台交互式运行
在python basic_demo/cli_demo_hf.py中运行代码,注意替换模型地址
python cli_demo_hf.py --from_pretrained /u01/workspace/cogvlm/models/cogvlm-chat-hf --fp16 --quant 4

OpenAI 方式 Restful API 运行
运行服务端
python openai_api.py --checkpoint-path /u01/workspace/models/Qwen-VL-Chat

默认通过http://127.0.0.1:8000/v1/chat/completions即可访问相关api
Docker 容器化部署
Dockerfile样例
注意
COPY Qwen-VL/ /app/Qwen-VL/这行执行需要根据世纪ChatGLM3源码下载存放位置。
FROM pytorch/pytorch:2.2.1-cuda12.1-cudnn8-runtime
ARG DEBIAN_FRONTEND=noninteractive


WORKDIR /app

RUN pip config set global.index-url http://mirrors.aliyun.com/pypi/simple
RUN pip config set install.trusted-host mirrors.aliyun.com

RUN mkdir -p /u01/workspace/models/

COPY Qwen-VL/ /app/Qwen-VL/
WORKDIR /app/Qwen-VL

RUN pip install -r requirements.txt
RUN pip install -r requirements_web_demo.txt
RUN pip install -r requirements_openai_api.txt
#RUN pip install huggingface_hub==0.23.0

EXPOSE 8000 8051

CMD ["python", "web_demo_mm.py", "-c", "/u01/workspace/models/Qwen-VL-Chat", "--server-name", "0.0.0.0", "--server-port", "8000"]
构建image
docker build -t qingcloudtech/qwenvl:v1.0 .
运行docker
docker run -itd --gpus all \
-p 8000:8000 \
-v /u01/workspace/models:/u01/workspace/models \
qingcloudtech/qwenvl:v1.0
验证:
浏览器访问: http://127.0.0.1:8000

openai api 方式运行
docker run -itd --gpus all -p 8000:8000 -v /u01/workspace/models:/u01/workspace/models qingcloudtech/qwenvl:v1.1 python openai_api.py -c /u01/workspace/models/Qwen-VL-Chat
【Qinghub Studio 】更适合开发人员的低代码开源开发平台
【QingHub Studio】演示
【https://qingplus.cn】
更多推荐
 已为社区贡献2条内容


所有评论(0)